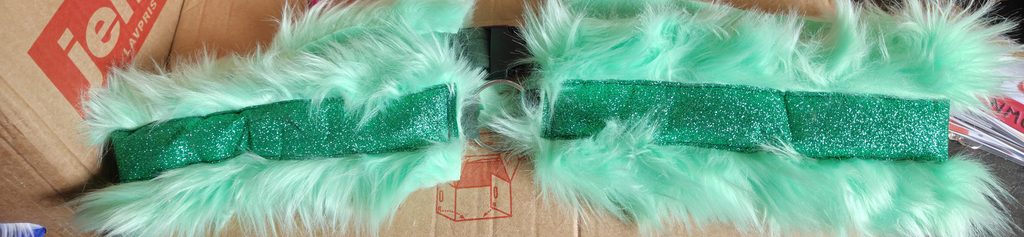
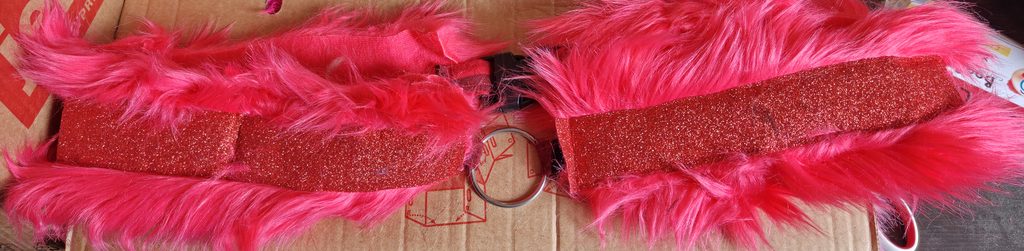
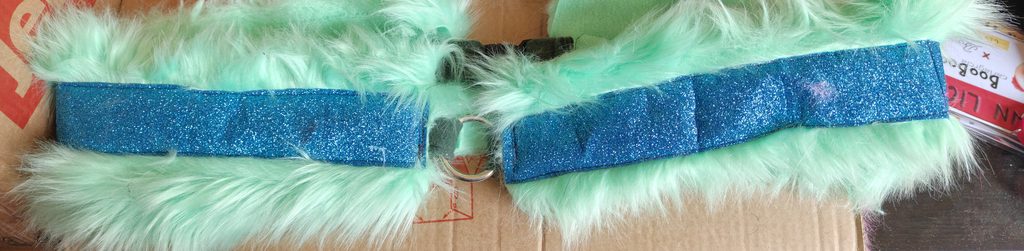
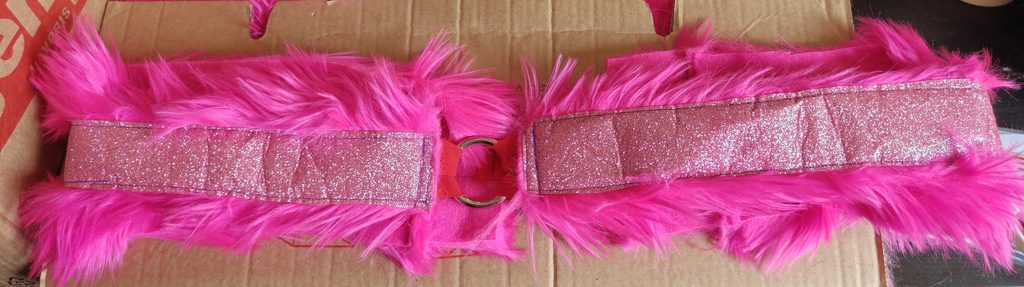
Homemade fur collars are soft, plush accessories crafted from faux fur and sturdy backing materials. They’re designed to hold name badges, charms, small props, or anything a fursuiter wants to display while suiting. The fur gives them a cozy, toony look that blends naturally with most fursuit styles.
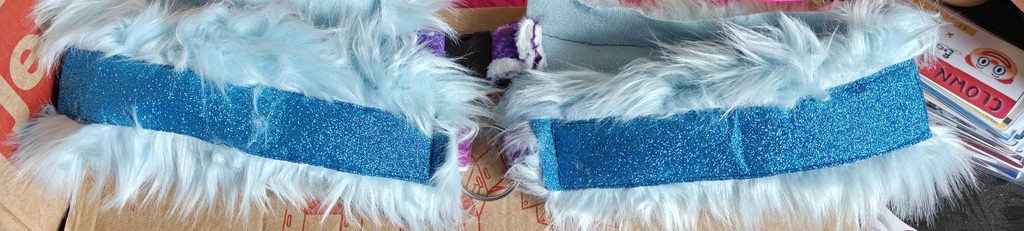
Styles
- Long chest lanyards — These run from shoulder to shoulder and hang down over the chest. They’re great for larger badges or multiple items, and they add a dramatic, fluffy accent to the suit.
- Short fur collars — These sit more like a traditional collar around the neck. Compact, neat, and perfect for a single badge or a small charm.
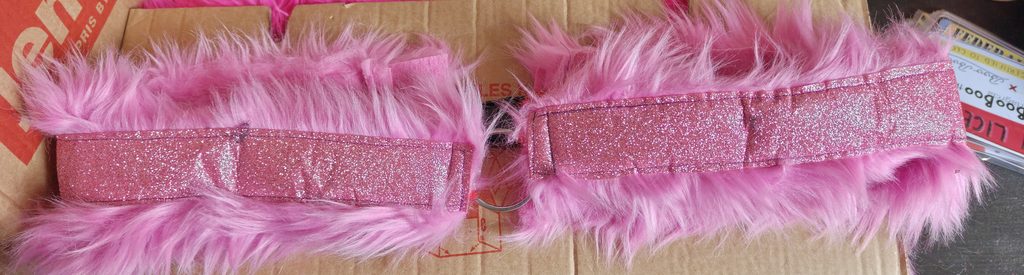
Materials & Look
- Soft faux fur in matching or contrasting colors
- Hidden stitching or reinforced seams for durability
- Optional clips, rings, or loops for attaching items
- Can be themed to match the fursuit’s palette or personality
These fur collars are primarily used as fursuit accessories, adding personality while keeping badges visible and secure. They’re comfortable to wear, easy to customize, and help complete the character’s overall look.
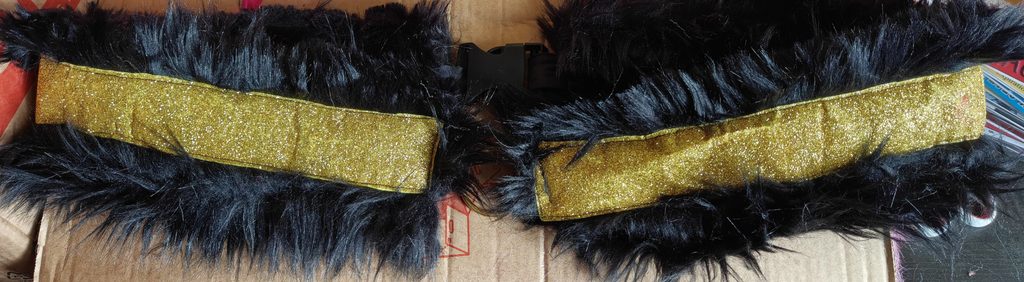
Making homemade fur collars is surprisingly fun it’s basically tiny fursuit‑crafting, just scaled down. Here’s a clear, practical guide you can follow, Kirby, written in English and structured so you can build both long chest‑lanyards and short neck collars.
Materials You’ll Need
- Faux fur (short or medium pile works best)
- Strong backing fabric (fleece, felt, or cotton)
- Sewing machine or hand‑sewing needles
- Bias tape or fabric strips for clean edges
- D‑rings, O‑rings, or swivel clips
- Velcro, snaps, or a buckle for closure
- Optional: foam strips for extra structure
- Optional: decorative trims, embroidery, charms
Step‑by‑Step Instructions
1. Choose the style
- A long chest lanyard (shoulder‑to‑shoulder, hangs down the chest)
- A short neck collar (sits snugly around the neck)
This determines the pattern length and how many attachment points you’ll add.
2. Create the pattern
- Long lanyard: 8–12 cm wide, length from shoulder to shoulder
- Short collar: 5–7 cm wide, length matching neck circumference Add 1–2 cm seam allowance on all sides.
3. Cut the fur correctly
Use a craft knife or small scissors to cut only the backing, not the pile. This keeps the fur fluffy and prevents bald edges.
4. Add the backing
Sew the fur to your backing fabric with the fur facing inward. Flip it right‑side out to get a clean, plush strip.
5. Reinforce the structure
- A foam strip
- Extra stitching
- A second backing layer This prevents sagging when badges hang from it.
6. Attach hardware
Sew D‑rings or O‑rings into the bottom center. Add side rings if you want multiple badge points.
7. Add closure
- Velcro
- Snap buttons
- A small buckle Make sure it’s comfortable and secure for fursuit use.
8. Decorate
Add trims, embroidery, themed colors, or character‑matching accents. This is where the collar becomes part of the suit’s personality.